
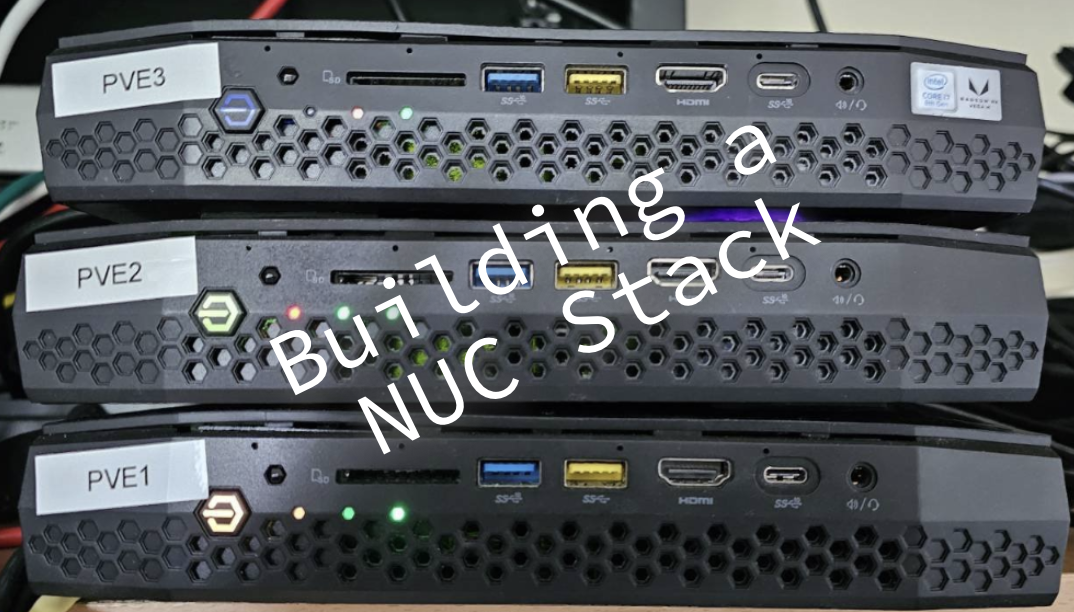
(Re)Building the Ultimate Homelab NUC Cluster - Part 3


Now that you have a testing firing range spun up, all that's left to do is some automation and media work. I originally had this setup with Proxmox but later opted to harness the bare metal and roll with a Debian/Ubuntu baseline. For this setup, I'll be using Docker and various Docker images.
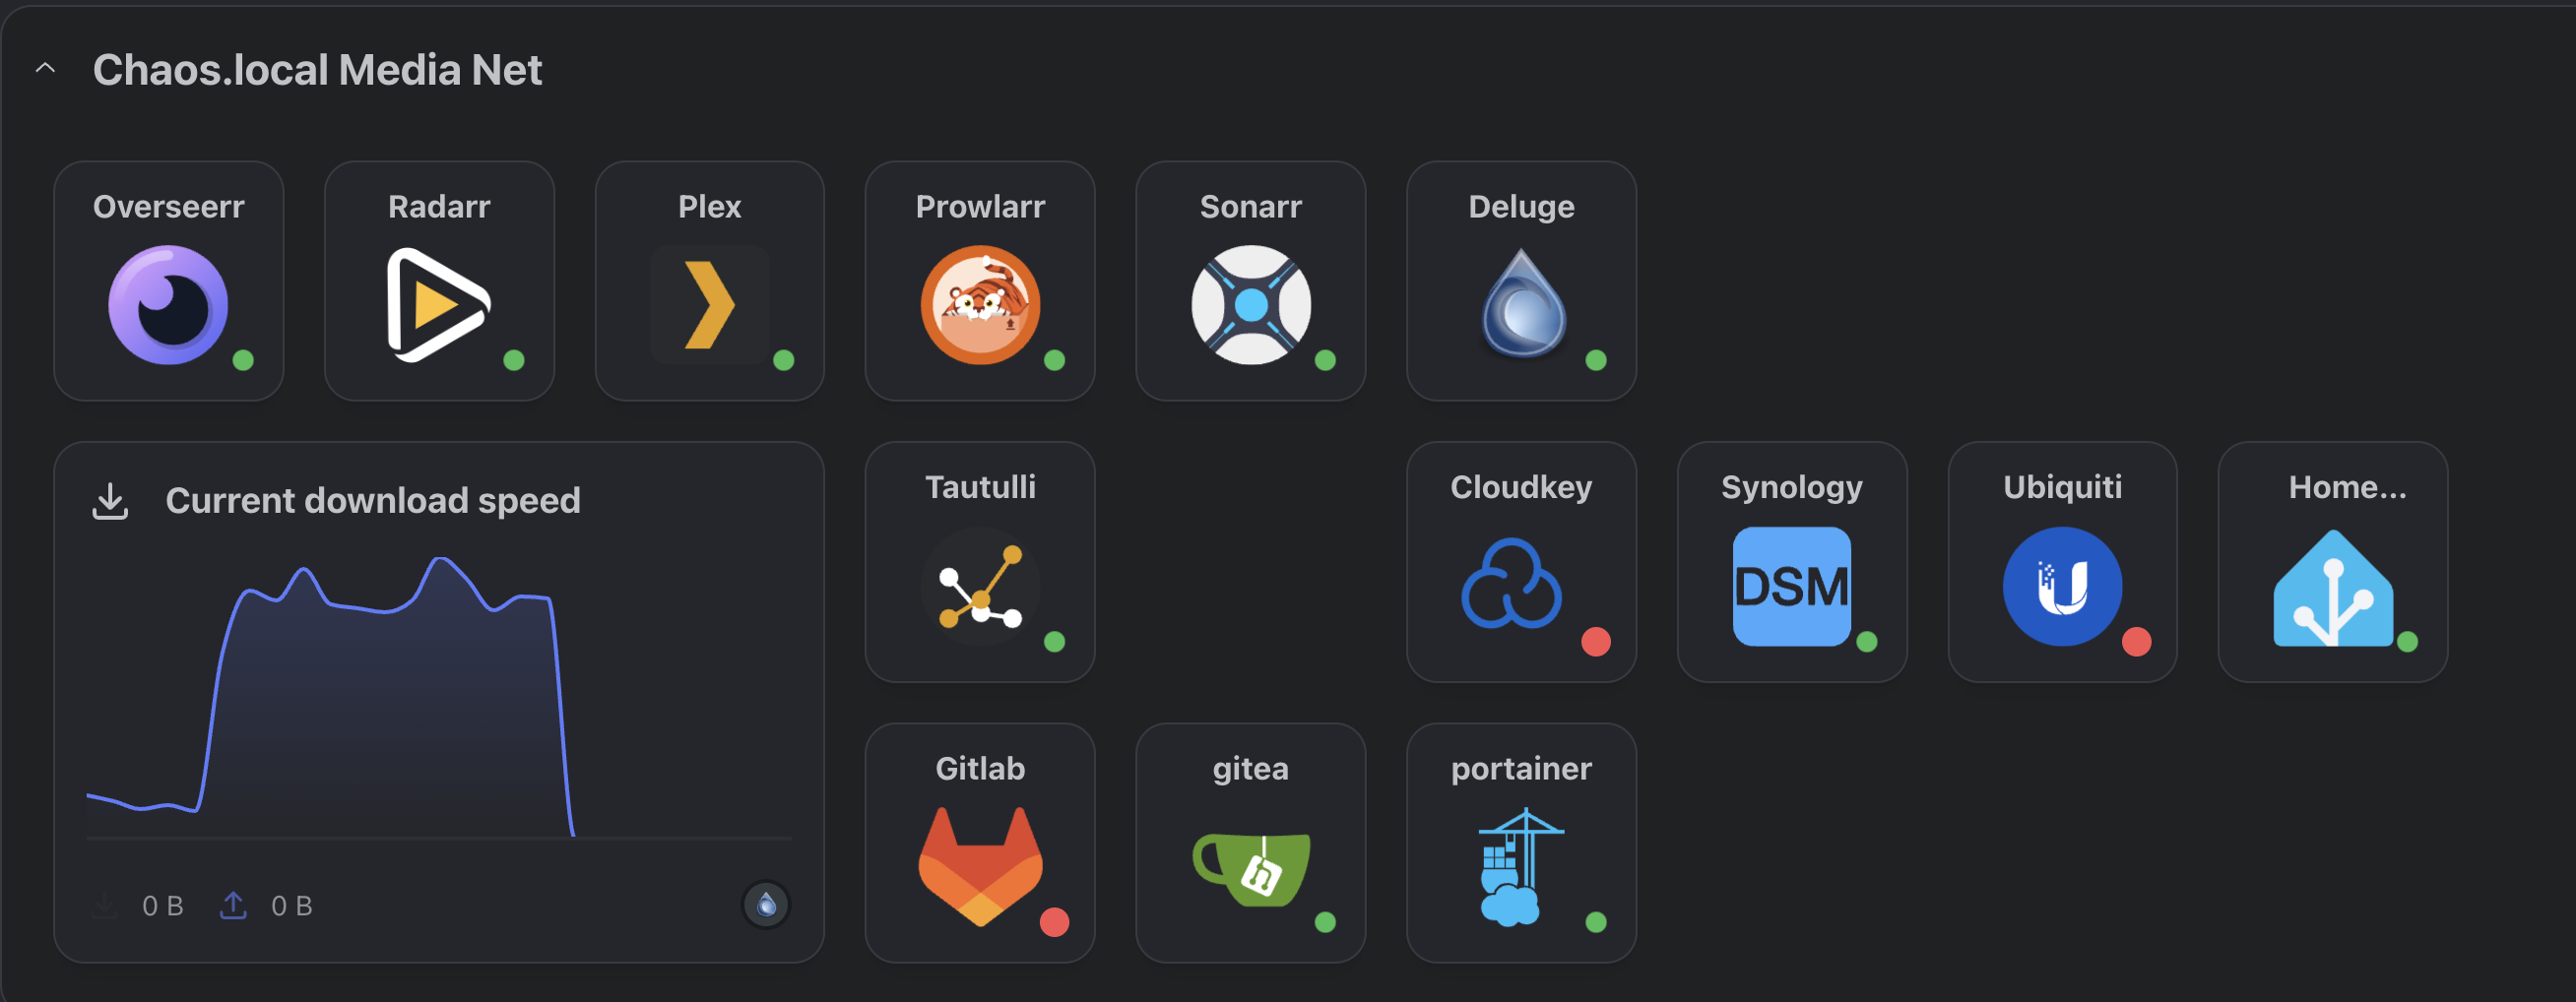
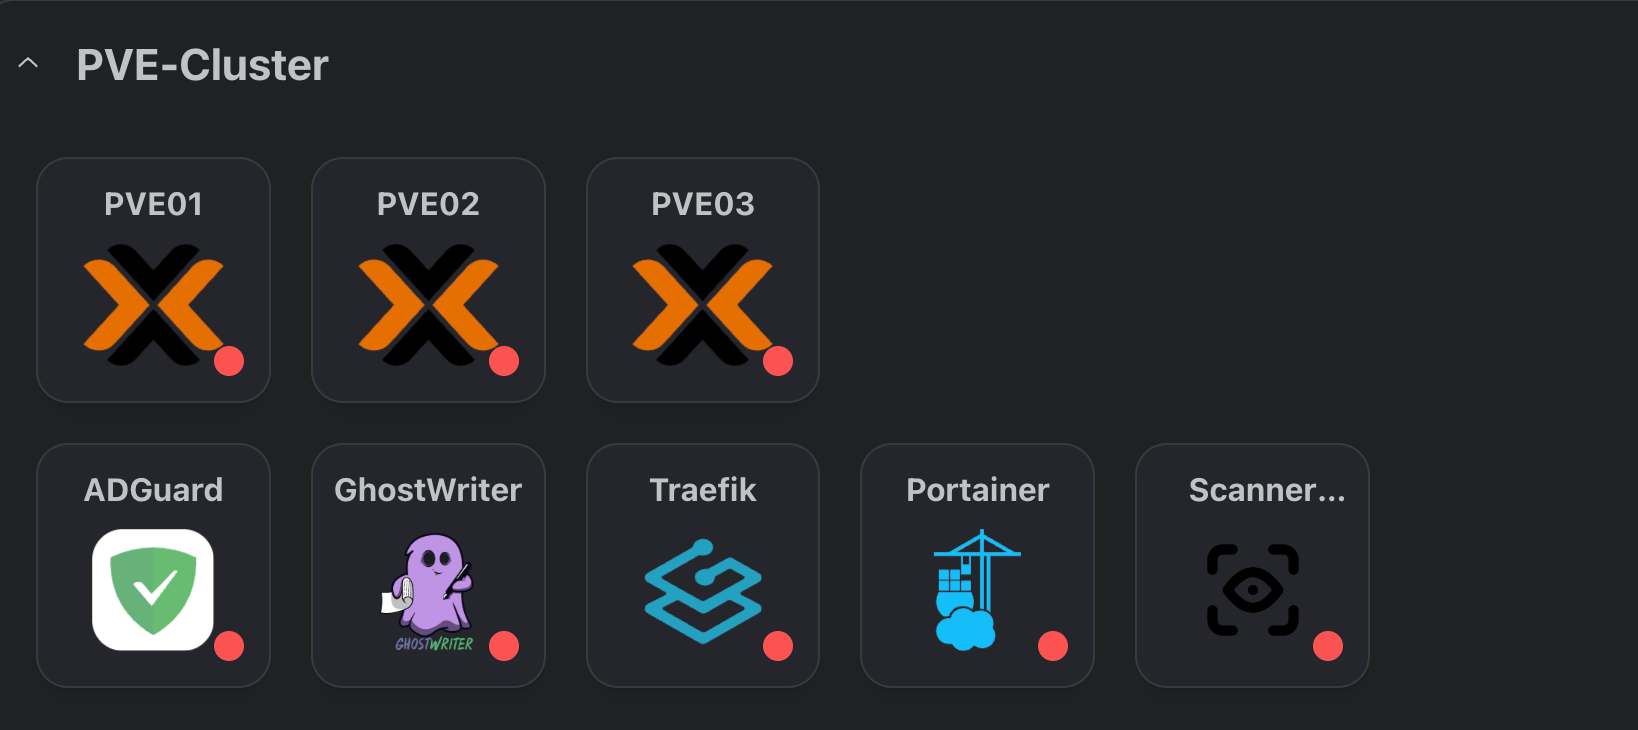
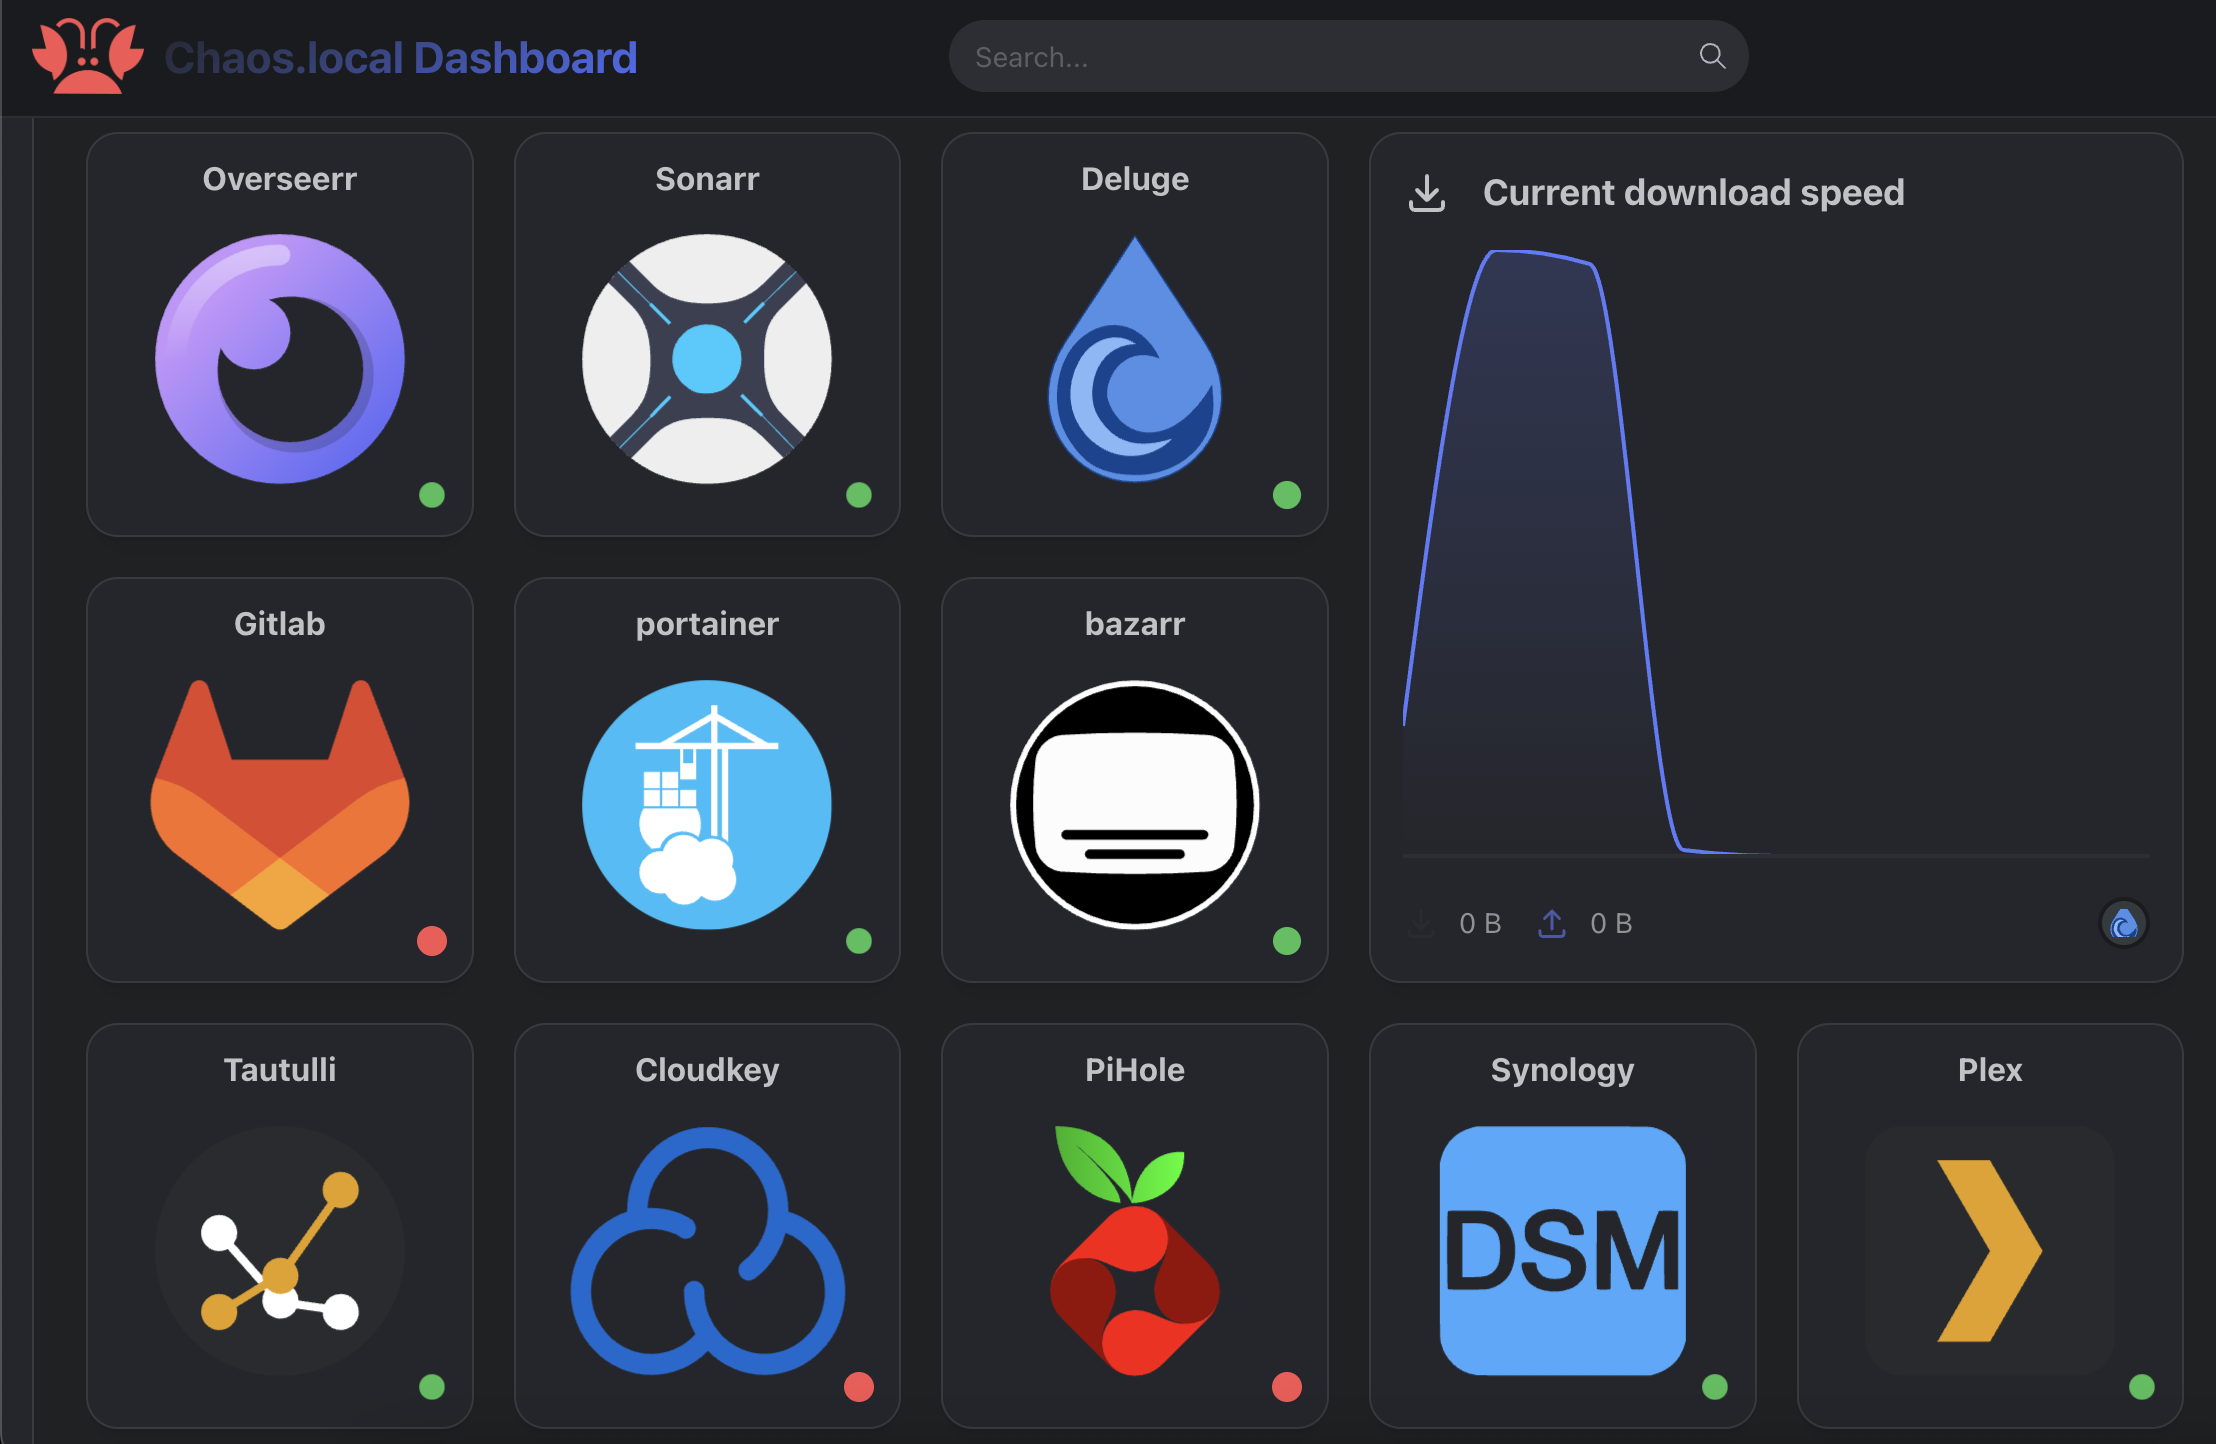
Eventually, we will have a dashboard similar to this, with different subsections for whatever you have set up:
Initial Setup
Docker is your friend, and I'm not going to step through how to install Ubuntu/Debian, but basically, you want a baseline setup of Ubuntu or Debian; the version doesn't matter all that much as the steps are the same initially.
I love writing short scripts to automate my life, and this is no different, the following script will prepare your Ubuntu image and install the correct version of Docker:
for pkg in docker.io docker-doc docker-compose docker-compose-v2 podman-docker containerd runc; do sudo apt-get remove $pkg; done

# Add Docker's official GPG key:
sudo apt-get update
sudo apt-get install ca-certificates curl
sudo install -m 0755 -d /etc/apt/keyrings
sudo curl -fsSL https://download.docker.com/linux/debian/gpg -o /etc/apt/keyrings/docker.asc
sudo chmod a+r /etc/apt/keyrings/docker.asc

# Add the repository to Apt sources:
echo \
  "deb [arch=$(dpkg --print-architecture) signed-by=/etc/apt/keyrings/docker.asc] https://download.docker.com/linux/debian \
  $(. /etc/os-release && echo "$VERSION_CODENAME") stable" | \
  sudo tee /etc/apt/sources.list.d/docker.list > /dev/null
sudo apt-get update

sudo apt-get install docker-ce docker-ce-cli containerd.io docker-buildx-plugin docker-compose-plugin -y
It starts by looking for all previously installed versions of Docker and removing them. Then, it goes through an update cycle to install the relevant packages before finally installing Docker and Docker-compose.
Before running with docker images, it is worth setting up a folder where all your docker images will live for easier management when creating images, for this I opted to create /volume1/docker to house all my various folders, namely when a new image is created I create a subfolder in here to map the file system to the image. This is especially important when it comes to sharing folders between images as explained later on.
Baseline Images
Once Docker is installed, we will install some baseline images that we'll use to manage our stack. The first images I tend to install are auxiliary, including Portainer Community Edition and WatchTower:
Portainer is used as a management interface via a Browser for deploying Docker stacks; it also allows us to quickly see what our images look like and if there are any errors:
docker run -d --name=portainer \
-p 8000:8000 \
-p 9000:9000 \
-v /var/run/docker.sock:/var/run/docker.sock \
-v /volume1/docker/portainer:/data \
--restart=always \
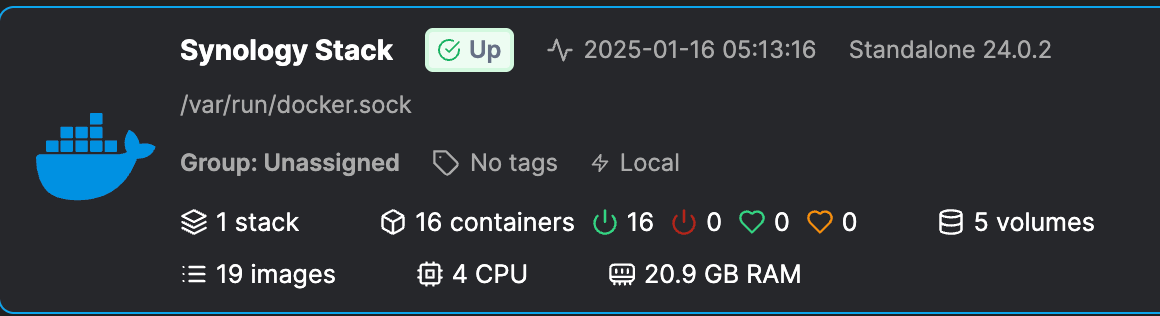
portainer/portainer-ceOnce spun up the dashboard will give you all of your instances in one place like so, clicking into the stack will show all of your containers, images and stacks plus resources in use on the host.
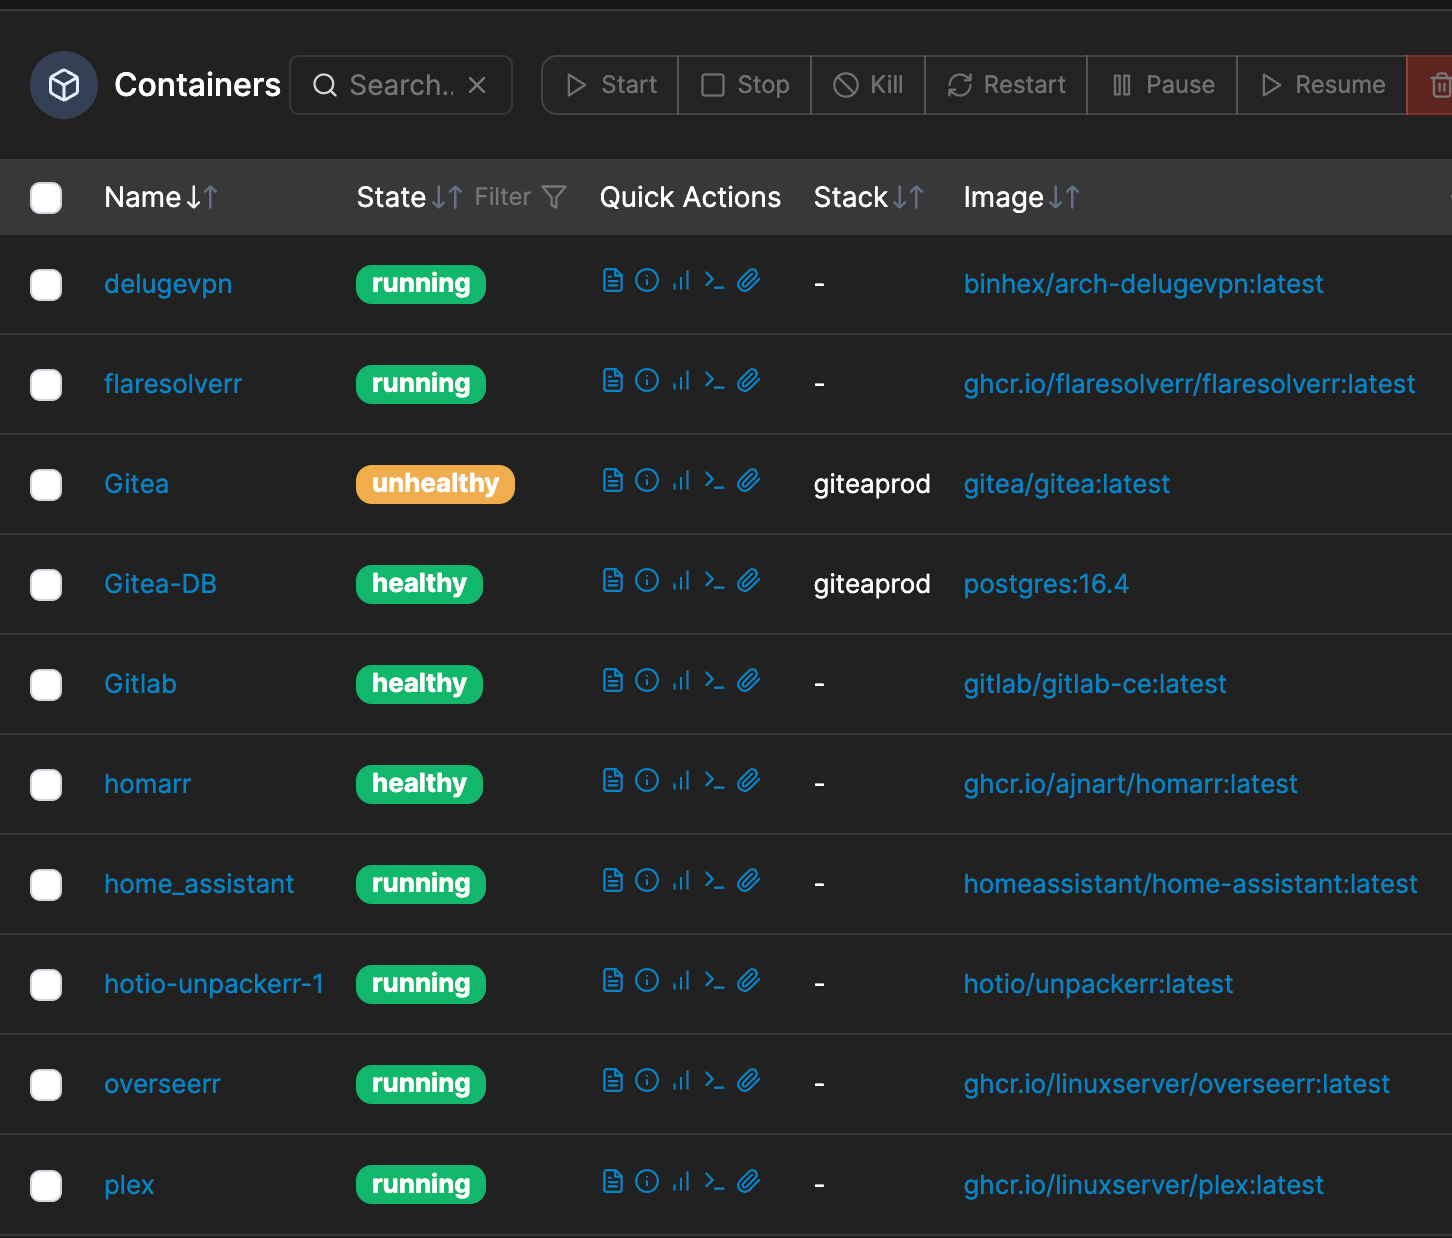
Under containers there is a wide variety of information available including the health of the containers and what is running (this is an example of one of my NUC stacks but if you're deploying for the first time this will be largely empty):
Watchtower will act as an auto-update monitor and pull down new images when available; it will gracefully shut down the existing container and restart it using the same options used when it was initially deployed. There are a few caveats to this whereby if you have specific images like a PiHole or others that depend on up time, you may want to exclude these from watchtower which can be achieved by adding the following do your docker compose file:
LABEL com.centurylinklabs.watchtower.enable="false"Or, alternatively run them as standalone images/virtual machines. To setup and run watchtower, the following docker command can be used which connects the container to the docker socket allowing it to communicate with other containers:
docker run -d --name=watchtower \
-v /var/run/docker.sock:/var/run/docker.sock \
--restart=always \
containrrr/watchtower --cleanup
This works wonders if you are running a media stack or similar as it removes the pain of keeping things like Plex up to date.
Dashboard
With monitoring and auto updates in place the next step is to build our baseline dashboard, for this I have opted to use Homarr as it comes with a wide variety of customisation options.
Plus it serves in general as a good dashboard for various accessible applications on your home network, you can set it up with or without authentication too depending on your preferences, have different boards for example if you wanted a home lab board and a media stack or like me you have tailscale so you want to change the links on the dashboard to match the tailscale IPs you can do that too.
To set up our image we're going to create the following directories in our existing /volume1/docker/ directory:
/volume1/docker/homarr
docker run -d --name=homarr \
-p 80:7575 \
-v /volume1/docker/homarr:/app/data/configs \
-v /volume1/docker/homarr/icons:/app/public/icons \
-v /volume1/docker/homarr/data:/data \
-v /var/run/docker.sock:/var/run/docker.sock \
-e TZ=Europe/London \
--restart always \
ghcr.io/ajnart/homarr:latest
With homarr set up we can populate it later once our other apps are built, however at a baseline the next few application builds run on the following ports, so you could pre-build/allocate them in the dashboard:
- Overseerr -
http://YOURDOCKERHOSTIP:5055 - Sonarr -
http://YOURDOCKERHOSTIP:8989 - Deluge -
http://YOURDOCKERHOSTIP:8112 - Radarr -
http://YOURDOCKERHOSTIP:7878 - Plex -
http://YOURDOCKERHOSTIP:32400
Installing and Configuring Tailscale (Optional)
Tailscale is my favourite tool for remote access to my home lab and there are so many guides out there on using it for various things, the one thing I love about it is that the deployment on *nix hosts is incredibly easy:
curl -fsSL https://tailscale.com/install.sh | shJust run the following script in a terminal and the script will do the rest, if you'd prefer to see what the script is doing before running with it you can browse to the script in a browser too https://tailscale.com/install.sh and read it line by line.
Building an 'arr stack
The 'arr application stack is a great addition to any homelab/media stack as it gives an easy intuitive way to manage your media collection and with the addition of overseerr you can collate additional content from streaming services, think of it like an all in one dashboard that plugs into plex to allow you to stream from multiple subscription services you pay for and can easily browse what is available on what service to watch.
Plex
Before we dive into the various media management images, the first centre piece will be Plex which will be our dashboard for management and central viewing. In addition we are going to create a few directories for our different docker images to live in and talk to:
/volume1/docker/plex
/volume1/docker/radarr/movies
/volume1/docker/sonarr/tv
/volume1/web/downloads
Once the folders have been created the plex image can be deployed and mapped to the relevant folders:
docker run -d --name=plex \
-e TZ=Europe/London \
-e VERSION=docker \
-v /volume1/docker/plex:/config \
-v /volume1/docker/radarr/movies:/movies \
-v /volume1/docker/sonarr/tv:/tv \
-v /volume1/web/downloads:/downloads \
--restart always \
--net=host \
ghcr.io/linuxserver/plex
To access plex, navigate to http://YOURDOCKERIP:32400/web where Plex will prompt you to login and go through setup steps, once complete you can add your libraries by pointing to the folders we previously mapped and setting them up relevant so TV = /tv and Films/Movies = /movies which will map directly into the host operating system and thus work between docker images.
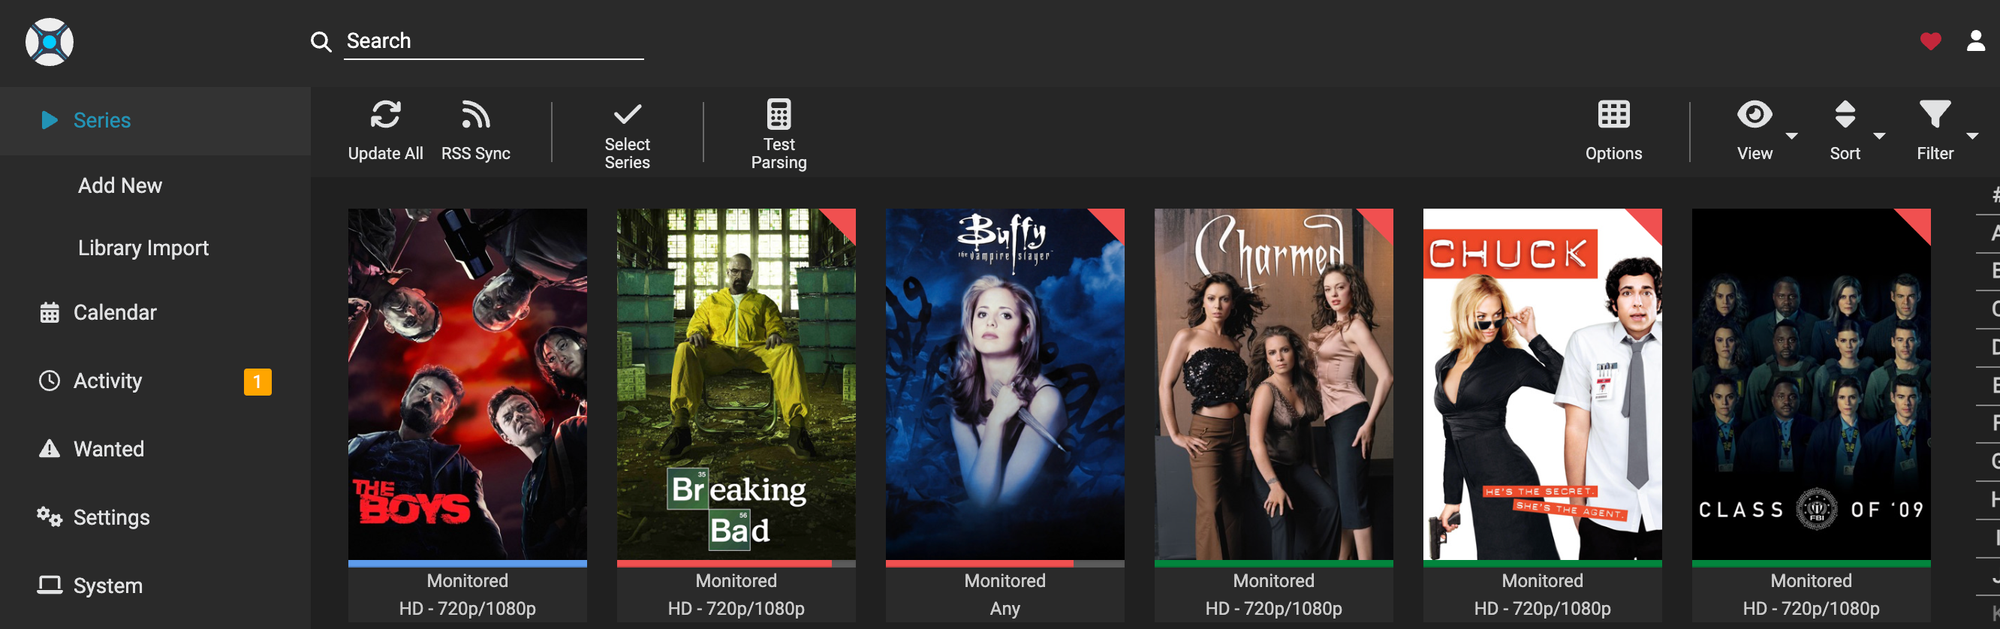
Sonarr
For Sonarr and other 'arr images we are going to create a shared folder where they can all operate from and access content to talk between docker images, I opted to create /volume1/web/downloads and map it between the different docker images to insure continuity.
docker run -d --name=sonarr \
-p 8989:8989 \
-e TZ=Europe/London \
-v /volume1/docker/sonarr/config:/config \
-v /volume1/docker/sonarr/tv:/tv \
-v /volume1/web/downloads:/downloads \
--restart always \
ghcr.io/linuxserver/sonarr
Once deployed it is now time to set up the Authentication Method, the default and best option for most will be Forms (Login Page), make sure you set Authentication Required: (Enabled). Finally Type in your own Username and Password then click Save. Next we want to link our shared folders together so that data can be shared between our images.
Under Settings, click Media Management. Scroll down the page until you find the blue button called Add Root Folder. In the File Browser, type in a / then select /tv/.
Radarr

Radarr works in an identical manner to Sonarr except it is for movie management. To deploy the docker image the following command can be used.
docker run -d --name=Radarr \
-p 7878:7878 \
-e TZ=Europe/London \
-v /volume1/docker/radarr:/config \
-v /volume1/docker/radarr/movies:/movies \
-v /volume1/web/downloads:/downloads \
--restart always \
ghcr.io/linuxserver/radarr
Once deployed, you will need to follow the steps to link up the directories we setup previously. First browse to the relevant port/IP of your docker host and the port we set up, then create a username and password.
Under Settings, click Media Management. Scroll down the page until you find the blue button called Add Root Folder. In the File Browser, type in a / then select /movies/.
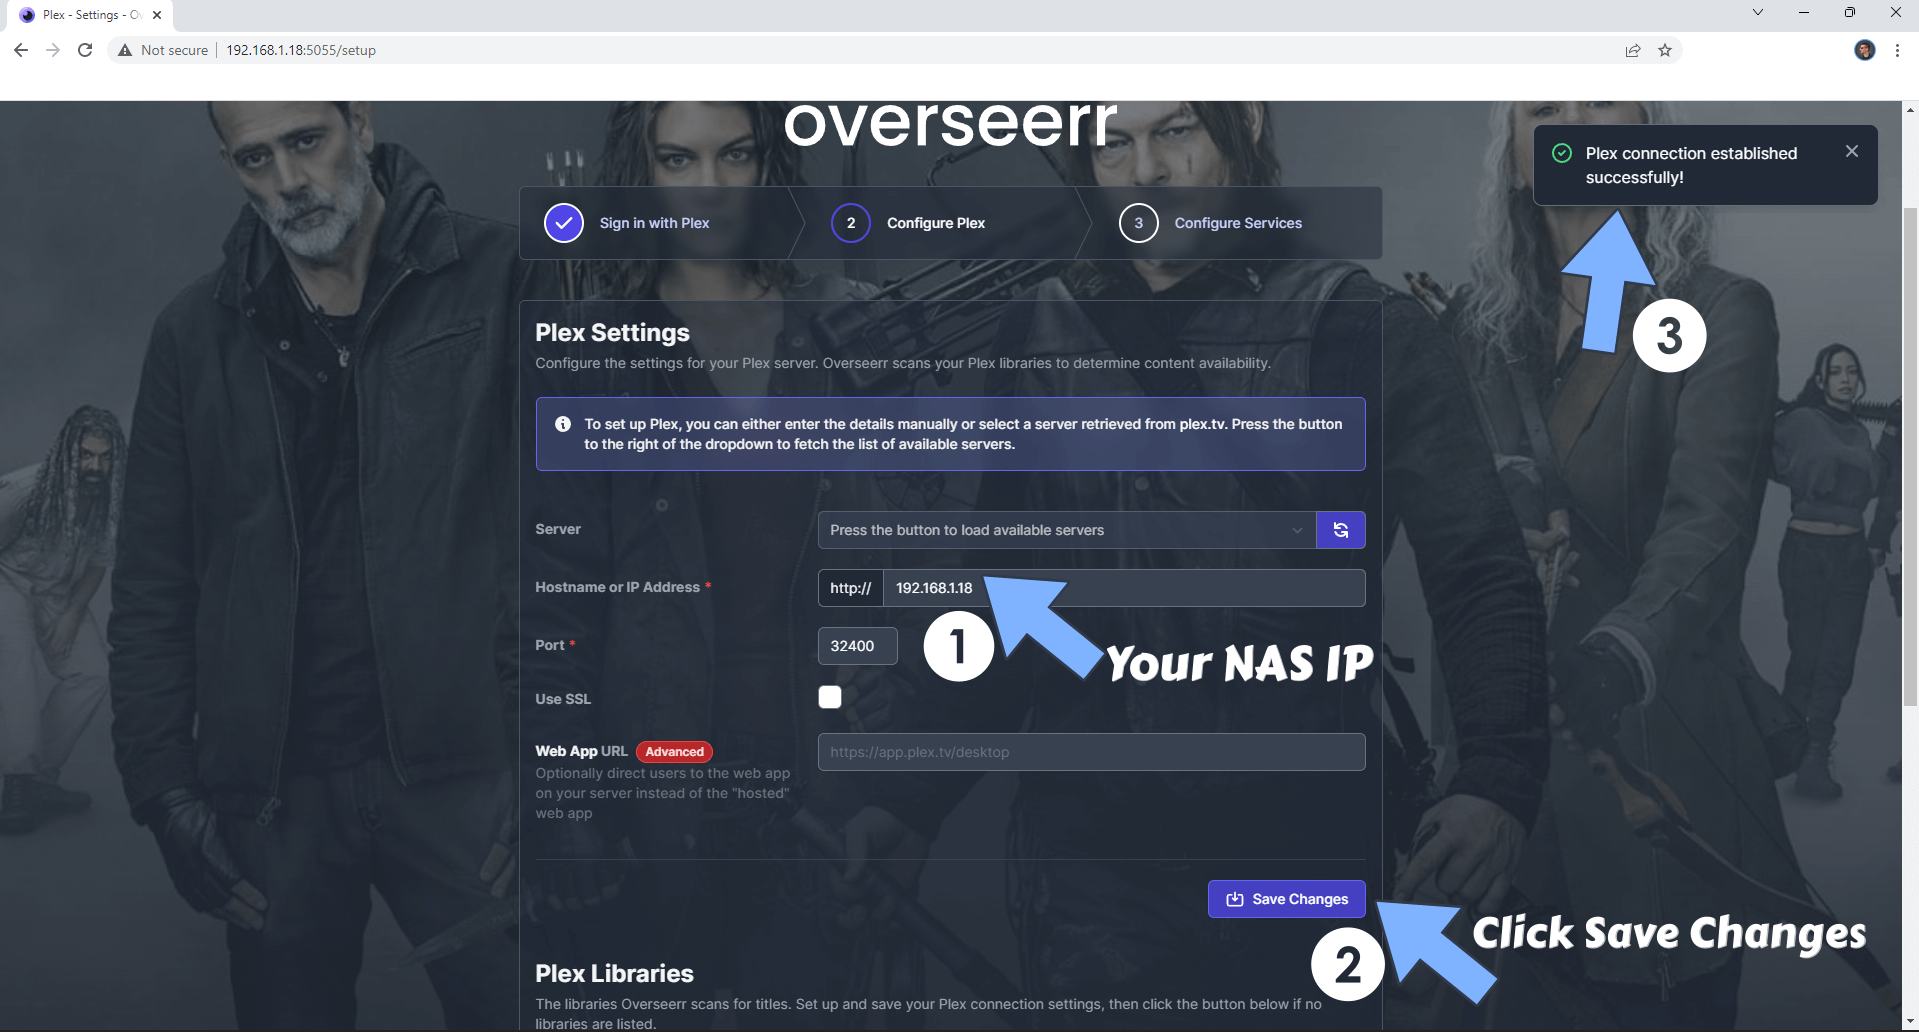
Overseerr
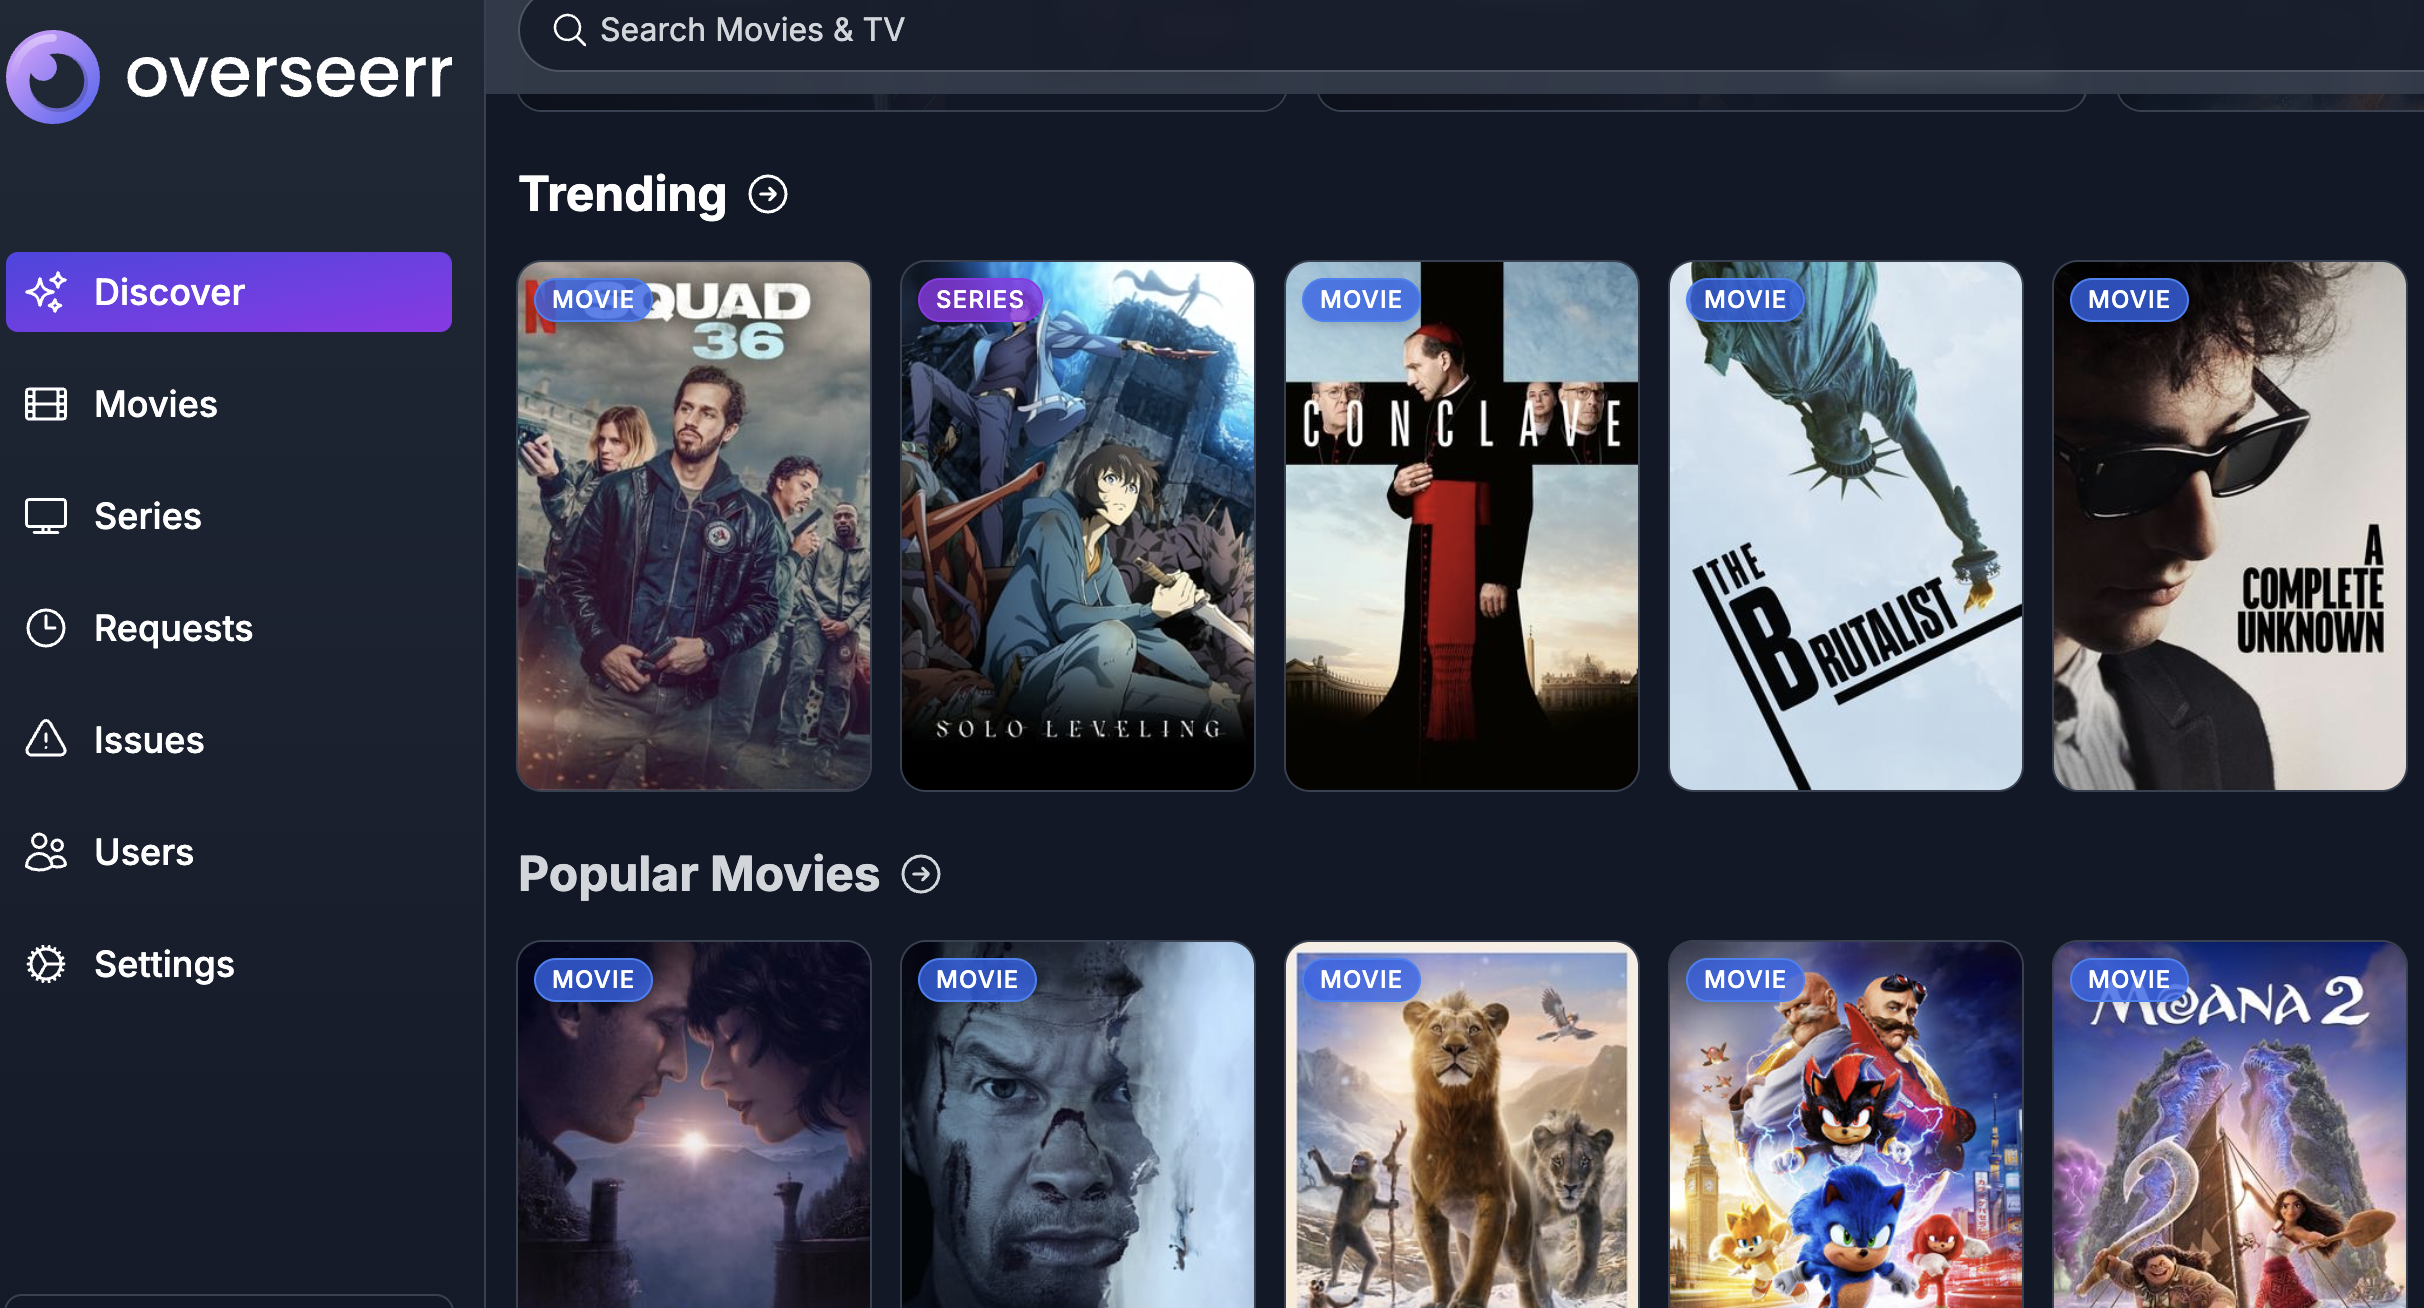
Overseerr is a request management and media discovery tool built to work with your existing Plex ecosystem and it hooks directly into Radarr, Sonarr and other tools nicely. To pull and build the docker image we are going to use the same shared base folder for docker but create a new directory for overseerr.
docker run -d --name=overseerr \
-e TZ=Europe/London \
-v /volume1/docker/overseerr:/config \
--net=host \
--restart always \
ghcr.io/linuxserver/overseerr
Unline Radarr and Sonarr, Overseerr does not require mappings to be made to the various directories as the main settings are configured when you first access the app, http://YOURDOCKERHOSTIP:5055 it'll prompt you to login to plex and ask you for the host of where plex lives which in our case is going to be the same IP as our overseerr host with the default port of 32400.
Downloads and VPNs
To effectively streamline having Overseerr setup to talk to all your different apps you will likely want something set up to perform downloads, this can be achived with Deluge which is an open source download client. There is a docker image that combines deluge with a VPN client to ensure anonimity of downloads and enhanced privacy. The Arch Deluge VPN docker image has the ability to use different VPN providers to ensure you are not exposing your external IP address to any downloads.
Before deploying we are going to create a dedicated folder much like the other apps within the docker folder called deluge, and we will use the existing downloads folder that is shared between the other images.
docker run -d \
    --cap-add=NET_ADMIN \
    -p 8112:8112 \
    -p 8118:8118 \
    -p 58846:58846 \
    -p 58946:58946 \
    --name=delugevpn \
    -v /volume1/docker/deluge:/config \
    -v /volume1/web/downloads:/downloads \
    -e VPN_ENABLED=yes \
    -e VPN_USER=YOURUSERNAME \
    -e VPN_PASS=YOURPASSWORD \
    -e VPN_PROV=pia \
    -e VPN_CLIENT=openvpn \
    -e STRICT_PORT_FORWARD=yes \
    -e ENABLE_PRIVOXY=yes \
    -e LAN_NETWORK=<WHATEVERYOURLANRANGEISGOESHERE> \
    -e NAME_SERVERS=1.1.1.1 \
    -e DELUGE_DAEMON_LOG_LEVEL=info \
    -e DELUGE_WEB_LOG_LEVEL=info \
    -e DELUGE_ENABLE_WEBUI_PASSWORD=yes \
    -e VPN_INPUT_PORTS=1234 \
    -e VPN_OUTPUT_PORTS=5678 \
    -e DEBUG=false \
    -e UMASK=000 \
    -e TZ=Europe/London \
    binhex/arch-delugevpn
Once all of your images are set up you can configure each in the settings and have each talk to each other, I'm not going to go through that in this blog post as it is fairly straight forward and there are countless tutorials out there on how to do it. However at this point you have an 'arr stack stood up, plex and a homarr dashboard to sort everything out. You can also link to your previously created other home lab machines from the dashboard too for easy navigation which can be incredibly useful.
If you have not read parts 1 and 2 of my homelab NUC stack series they can be found here:

Onwards
With this setup, you now have a fully functional Docker-based homelab, complete with automation, monitoring, and a well-integrated media stack. Whether you’re using it for security research, personal projects, or simply managing your home media more efficiently, this structure provides a scalable and easily maintainable solution.
By leveraging tools like Portainer for management, Watchtower for updates, and Homarr for navigation, you can keep everything running smoothly with minimal manual intervention.
As always, homelabs are highly personal setups, so feel free to tweak and expand on this foundation to suit your needs.